
For those of you who aren't thinking about it yet, Mother's Day is May 8th this year. And yes, that's only about two weeks away. I knew I would be making something for my momma this year since, well, that's what I do. Word of advice, mom's always love homemade :-)
While I was shopping at Target today, I had to wander past the photo albums and scrap book section just to get ideas and see if anything was on sale. Well I came across this (sorry for the photo quality, I only had my phone with me) and instantly thought, I can totally make that!

__________________________________________
So I did!

[1] Start by cutting three rectangles out of card stock. They hang over a 4 x 6 picture just slightly. My final measurements were 5 x 7 (around the outer edges) with a width of 3/4 in.


[2] Cut three solid pieces of tough card board measuring 5 x 7 also. I used an old shoe box.
[3] After picking out what scrap book paper you want to use, cut three 6 x 8 inch rectangles. I wanted mine to hang over on the front a total of 1/2 inch on both sides (this will make more sense in step 8) so I cut out 1/2in squares from each corner. If you want it to hang over more just add the amount to each side.
[4] Fold up the sides, almost like you're making a really shallow box. Make sure to really press down on the fold, I used the end of a ruler to make the edge crisp.
[5] Place the two other pieces you've cut out before inside your little box. Hot glue the card board piece (red color) to the scrapbook paper itself.

[7] With an X-acto knife or razor blade carefully cut out an opening on one of the short sides so you can insert your picture later. This step is a little tricky, just be careful not to stick in the blade too deep. You only want the opening to be the size of your picture (4 inches), not the whole length of the side.
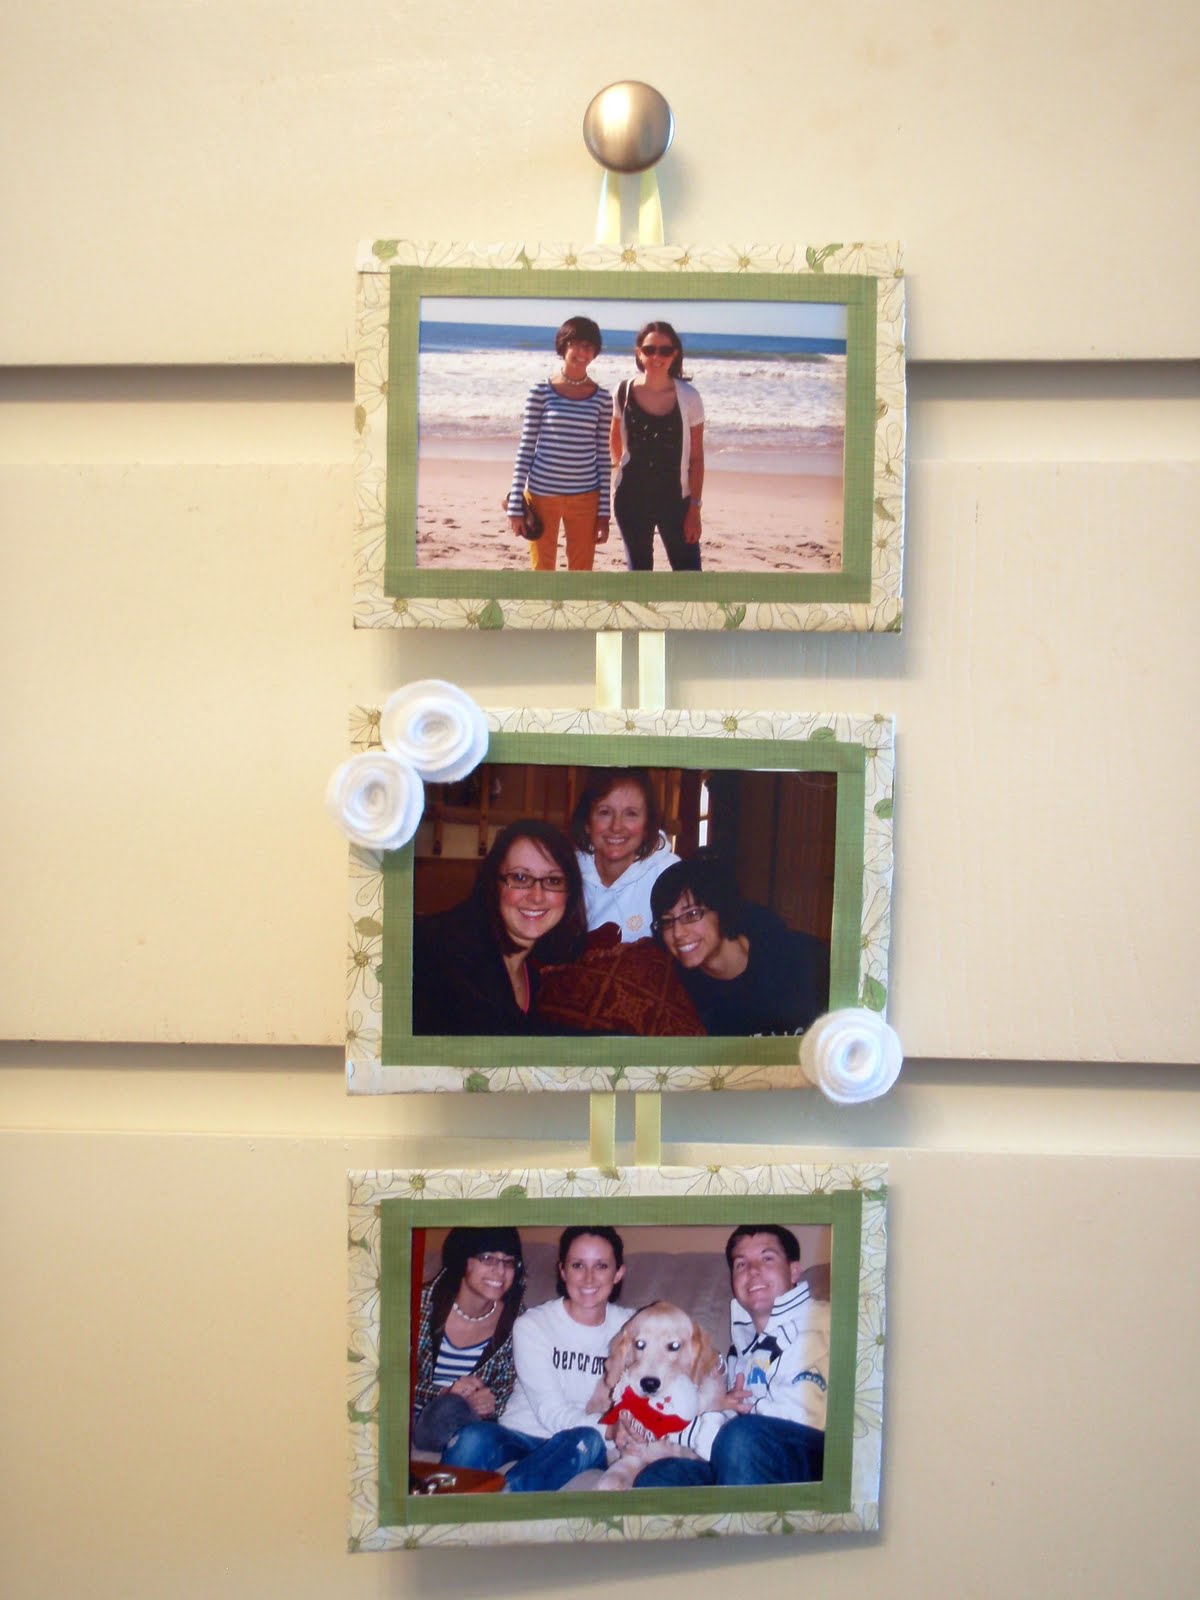
[8] I glued strips of a coordinating color paper to add a little dimension to the frame. This is why I only had to overlap 3/4 in (from step 3) because the green paper would cover the white edge. I covered the front with a thin layer of modge podge to make sure the edges were sealed and to give it a slightly glossy look. I also added a few rosettes to one of the frame to make it more "spring-y".
[9] Glue ribbon down the backs and separate the three however far you like. Form a simple loop at the top to hang it from and cut the ribbons so you don't see them on the bottom frame. I added a little message to my mom on the bottom frame so we'd be able to remember what this was for.
[10] Print a few pictures (of you, your siblings, your family, your mom) and you're finished! Mine will be going in the mail sometime soon. It's a perfect gift that can be hung easily because it's so light.
_________________________________________
Don't want to make one? You're in luck!
I will be adding these frames to my Blog Sale so go check it out!

That's adorable! I bet your mom will love it.
ReplyDeleteThat's really cute...what a thoughtful idea! I'm sure your mum is going to love it! :-)
ReplyDeleteYou did this so well! :) Love how moms always appreciate homemade things. She'll love this!
ReplyDeleteSo adorable!!! Those are going to be a hit!!
ReplyDelete